Authentication in Modern Application with Kinde

This article explores the application of Kinde's authentication technologies, serving as a tutorial that guides you through the steps of implementing various authentication functionalities provided by Kinde. The content is intended for my presentation at DevFest Owerri 2023.
Quick Intro to Kinde
Kinde is a platform designed to cater to the authentication needs of modern applications, offering a suite of tools for both authentication and user management.
Kinde offers a range of authentication services, including:
Password Auth
Passwordless Auth
Enterprise Single Sign-On (SSO)
M2M and Connected Apps
Social and Dev Logins
Multi-Factor Auth (MFA)
This platform is built by developers for developers. They have cool SDKs tailored for various stacks – spanning from front-end to back-end – enabling seamless integration into your applications.
Explore more about Kinde to elevate your authentication experience.
Pre-Requisite
Before diving into this tutorial, ensure you have:
An account on Kinde (If you don't have one, you can create it here).
Proficiency in a tech stack; for this tutorial, we will be using ExpressJs a backend stack.
A code editor, such as VSCode, to facilitate the coding process.
Creating an Account on Kinde
For this article, let's assume you don't have an existing account with Kinde.
Follow these steps to create an account on Kinde:
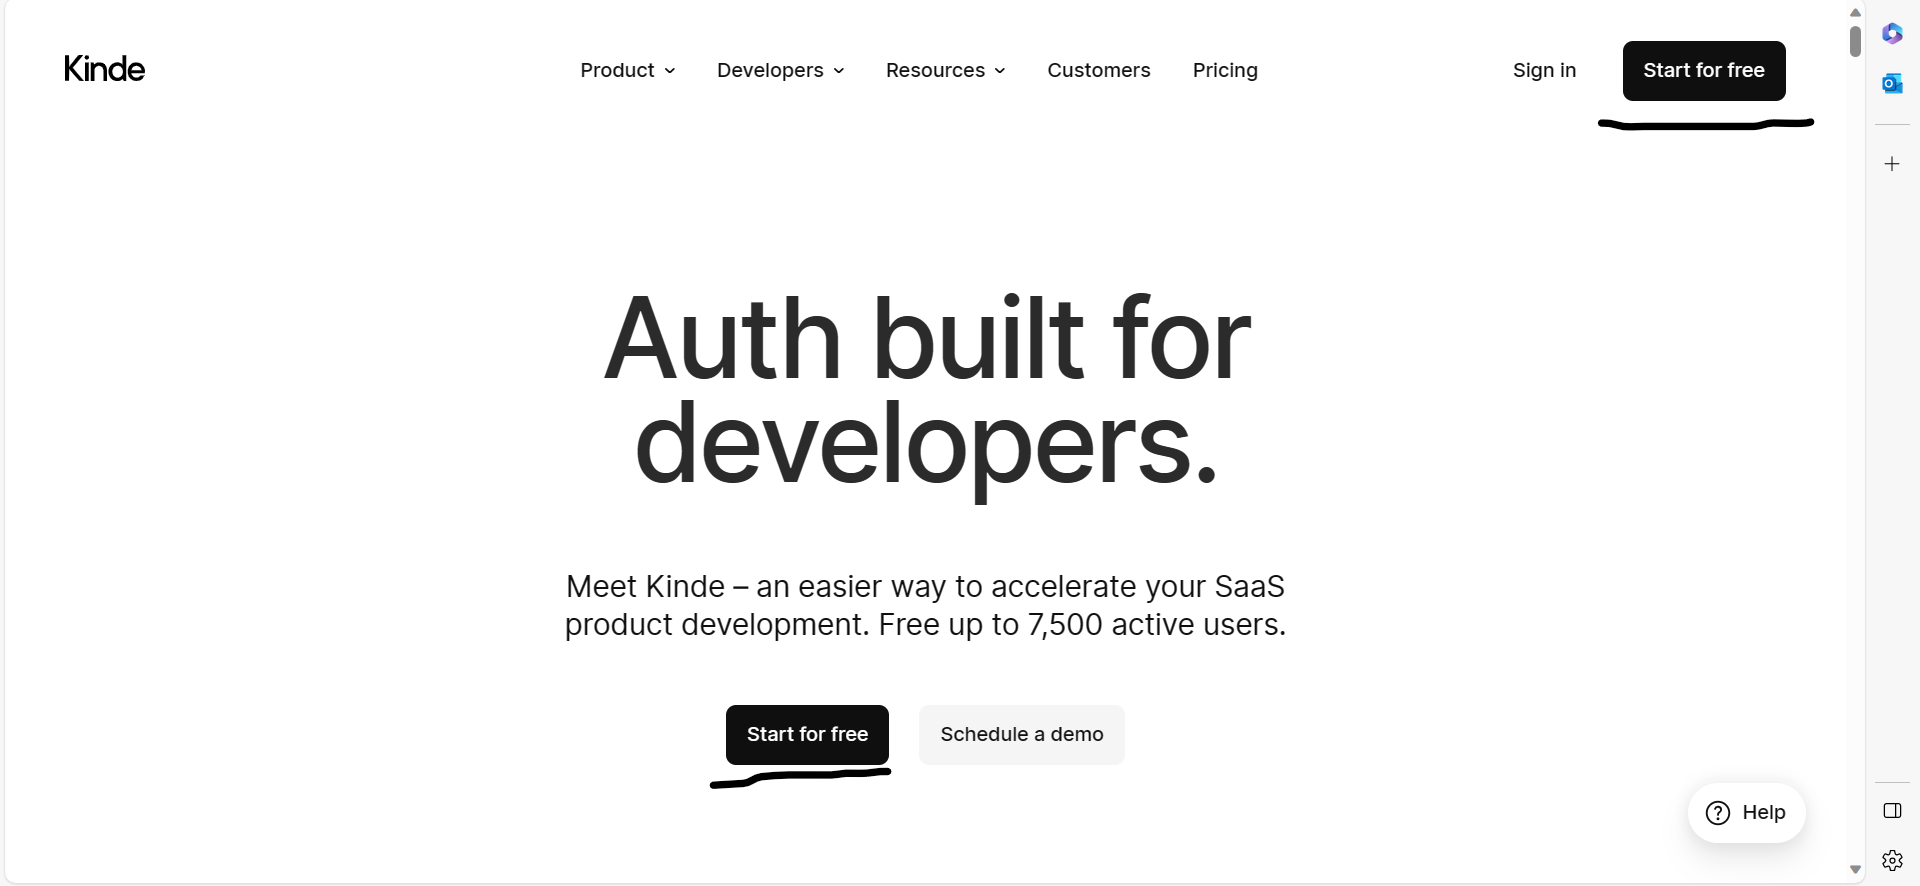
Visit the Kinde website.
Select “Start for free”.
Create your account, using any option of your choice.

After creating your account, you'll be prompted to create a business. Fill in the necessary details; Business Name, Domain and Region where your data would be stored.
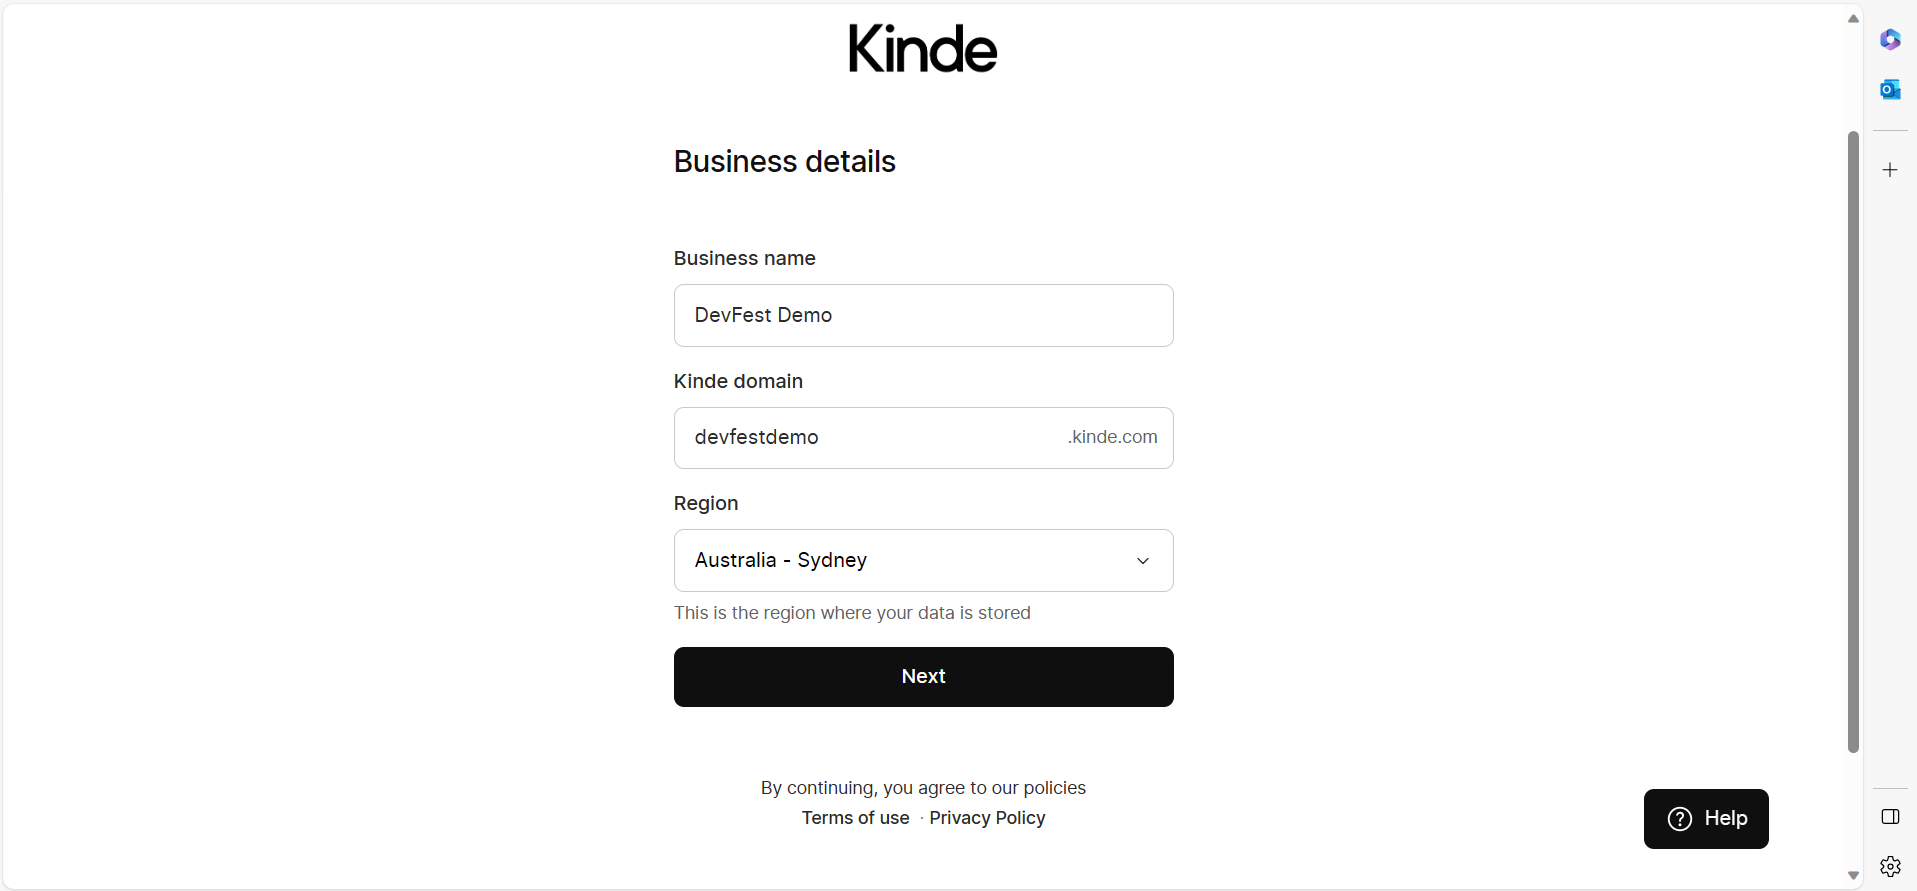
You can select a Region closest to you;
 🔑Upon creating an account on Kinde, a crucial step involves establishing a business, with the flexibility of an account to manage multiple businesses. This is particularly useful for business owners overseeing multiple ventures, allowing distinct tracking of user sign-ups.
Following the business creation, you will be prompted to create your first application.
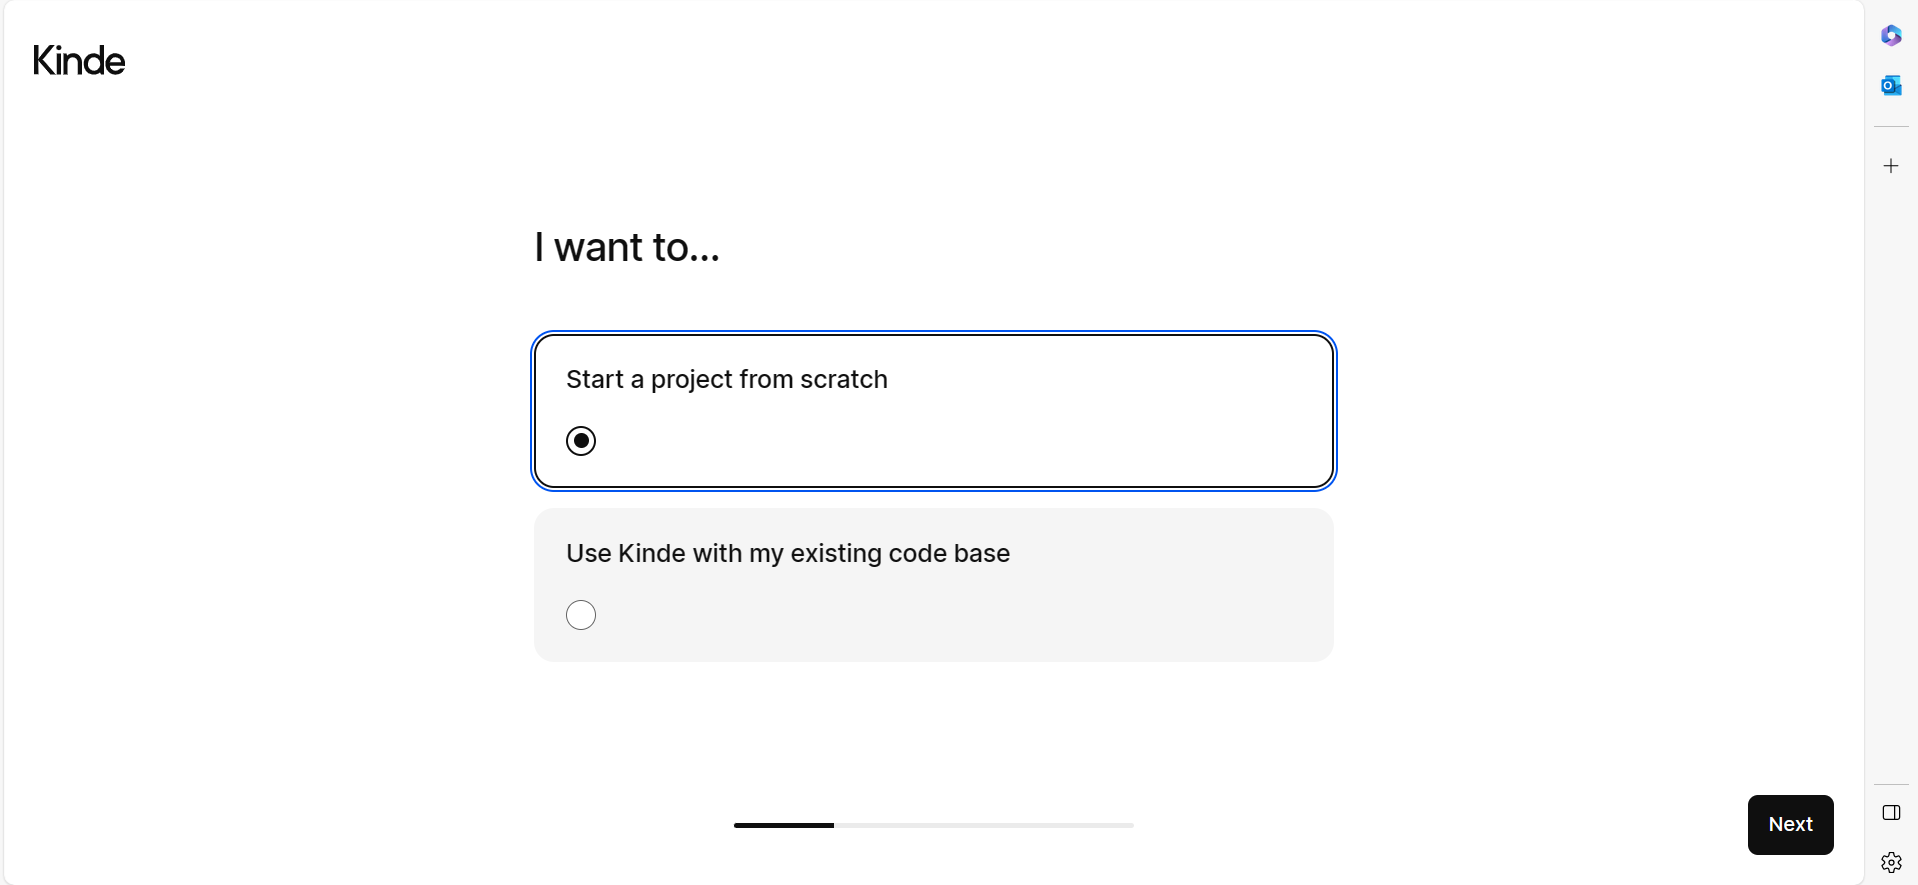
We would be creating our first application from scratch
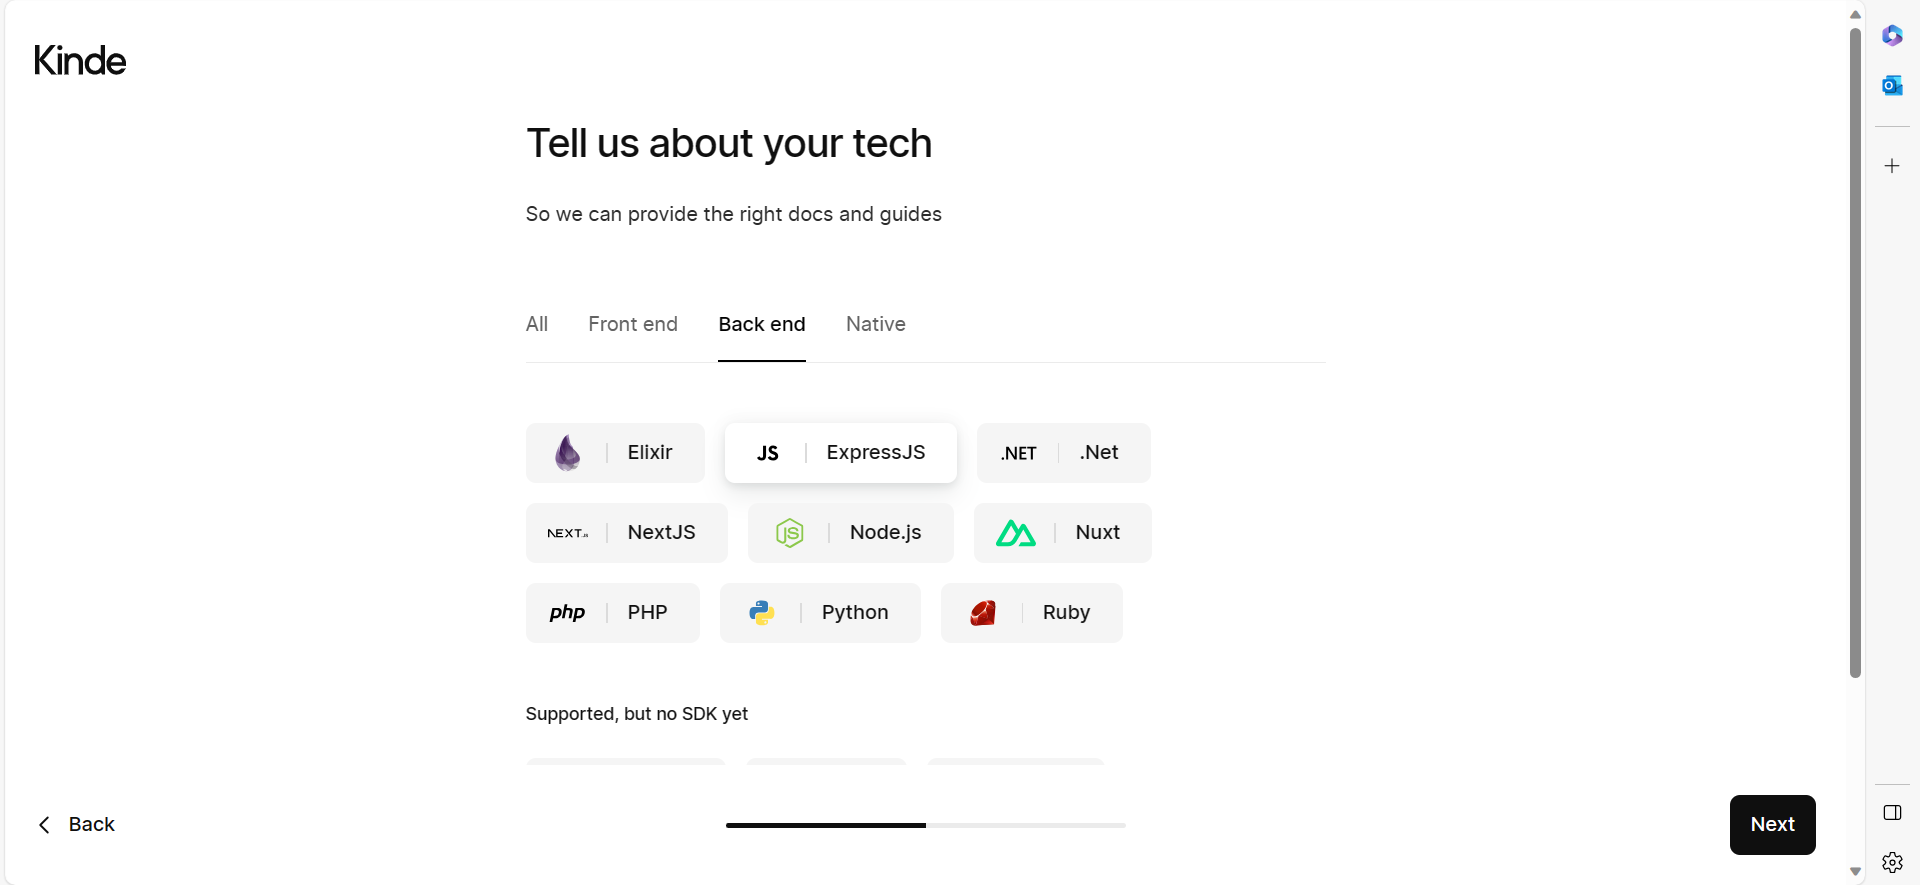
Select the stack you would be building with (In this case we are using ExpressJs a backend stack)
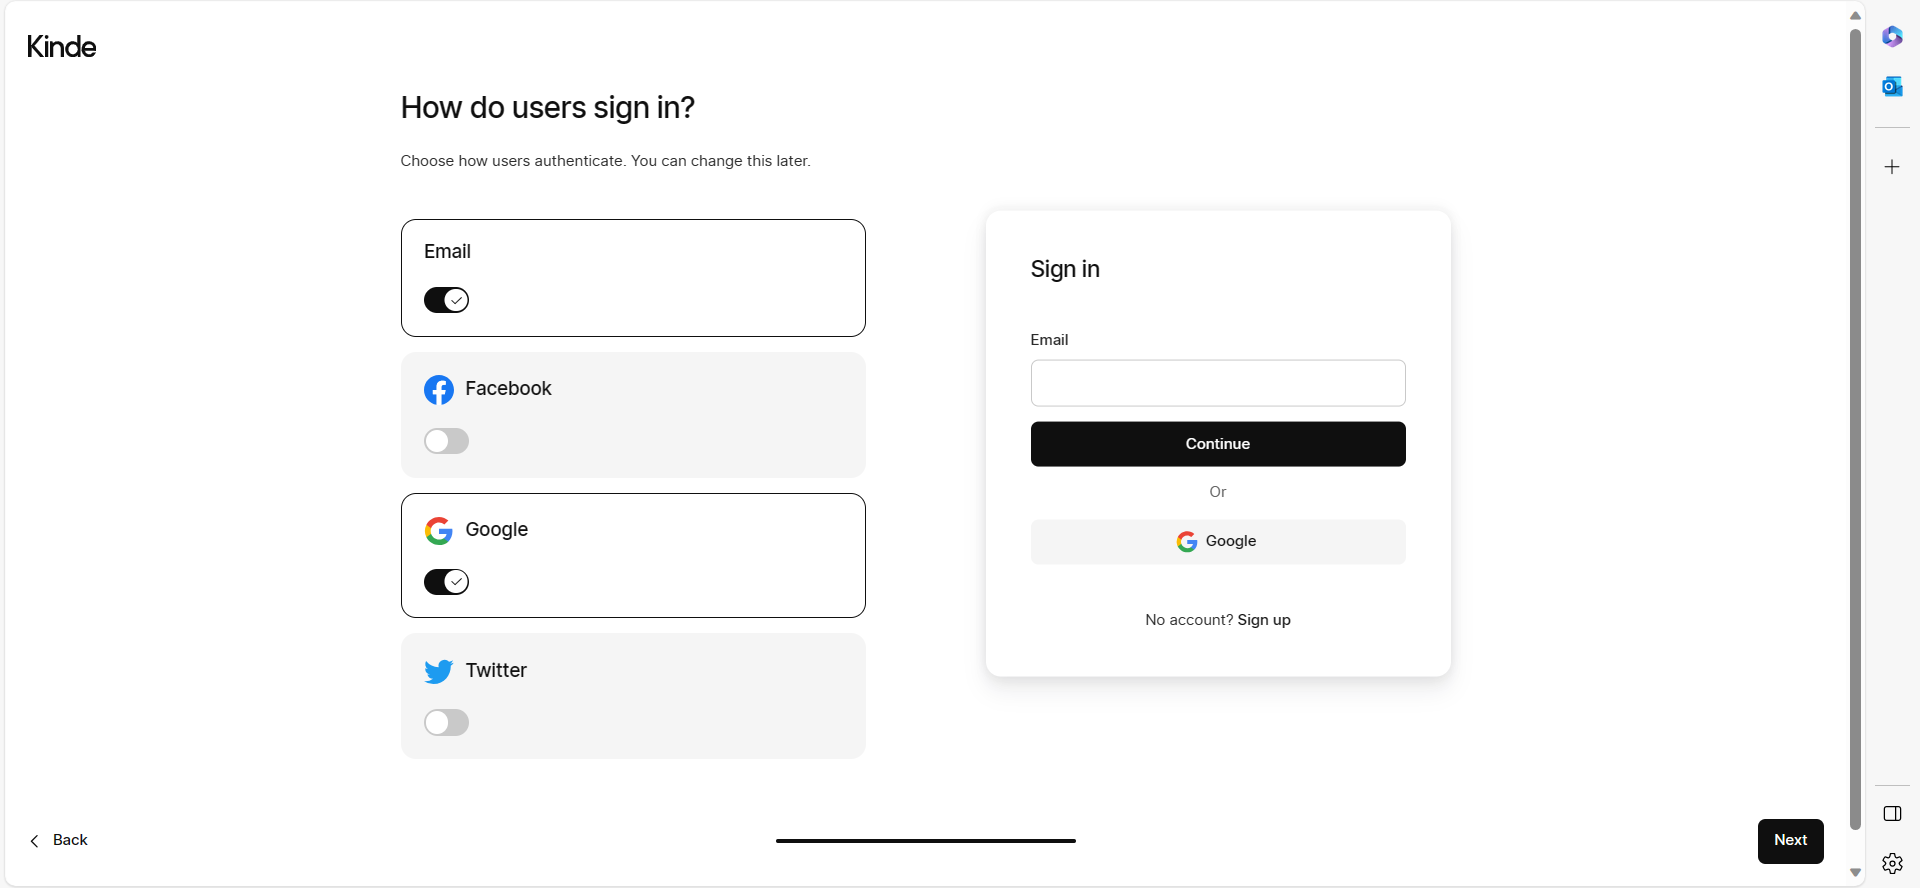
Select the authentication features you want to have in your application
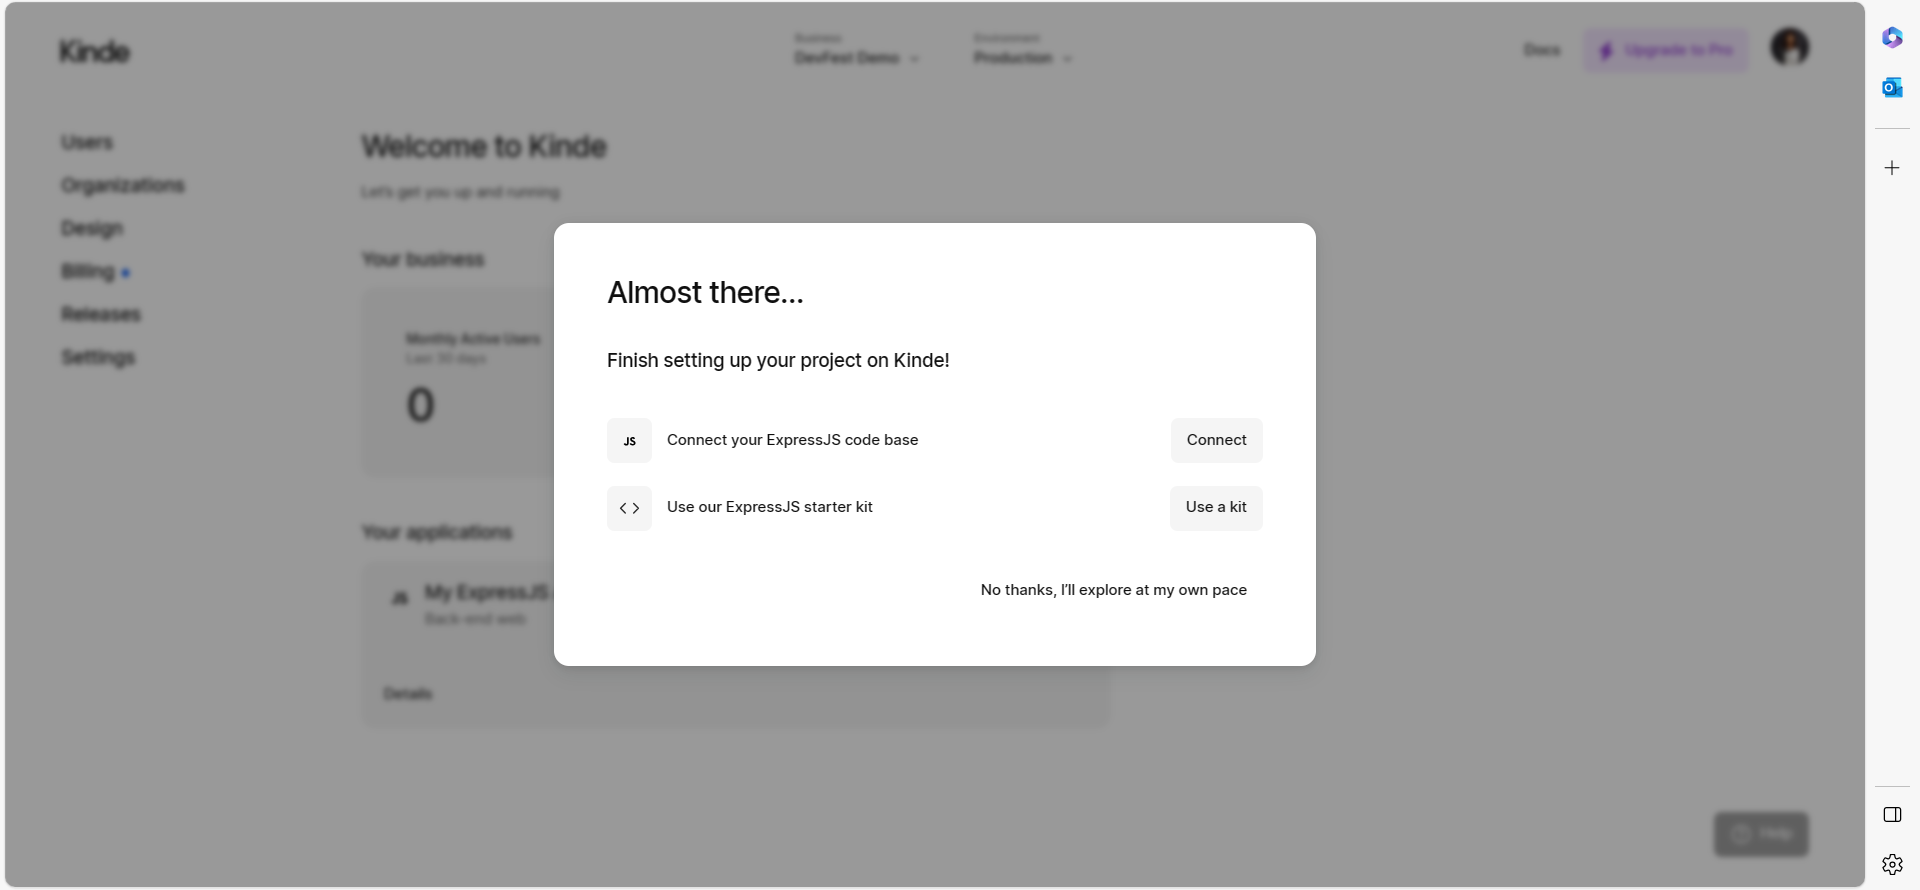
Now, you can select how you choose to integrate your Kinde application. You have the option to integrate your Kinde application into an existing codebase or utilize a starter kit provided by Kinde.
 🔑A notable feature of Kinde is its user-friendly guidance. Immediately upon account creation, you will be directed to set up your first application. You can either proceed to the Application setup section of this article for detailed instructions or simply follow the prompts provided during the process.
Application Setup
If you just created your account, please proceed to the next section Integrating your Kinde application. If you already have an account, after logging in, proceed with the following steps to create a new application within Kinde:
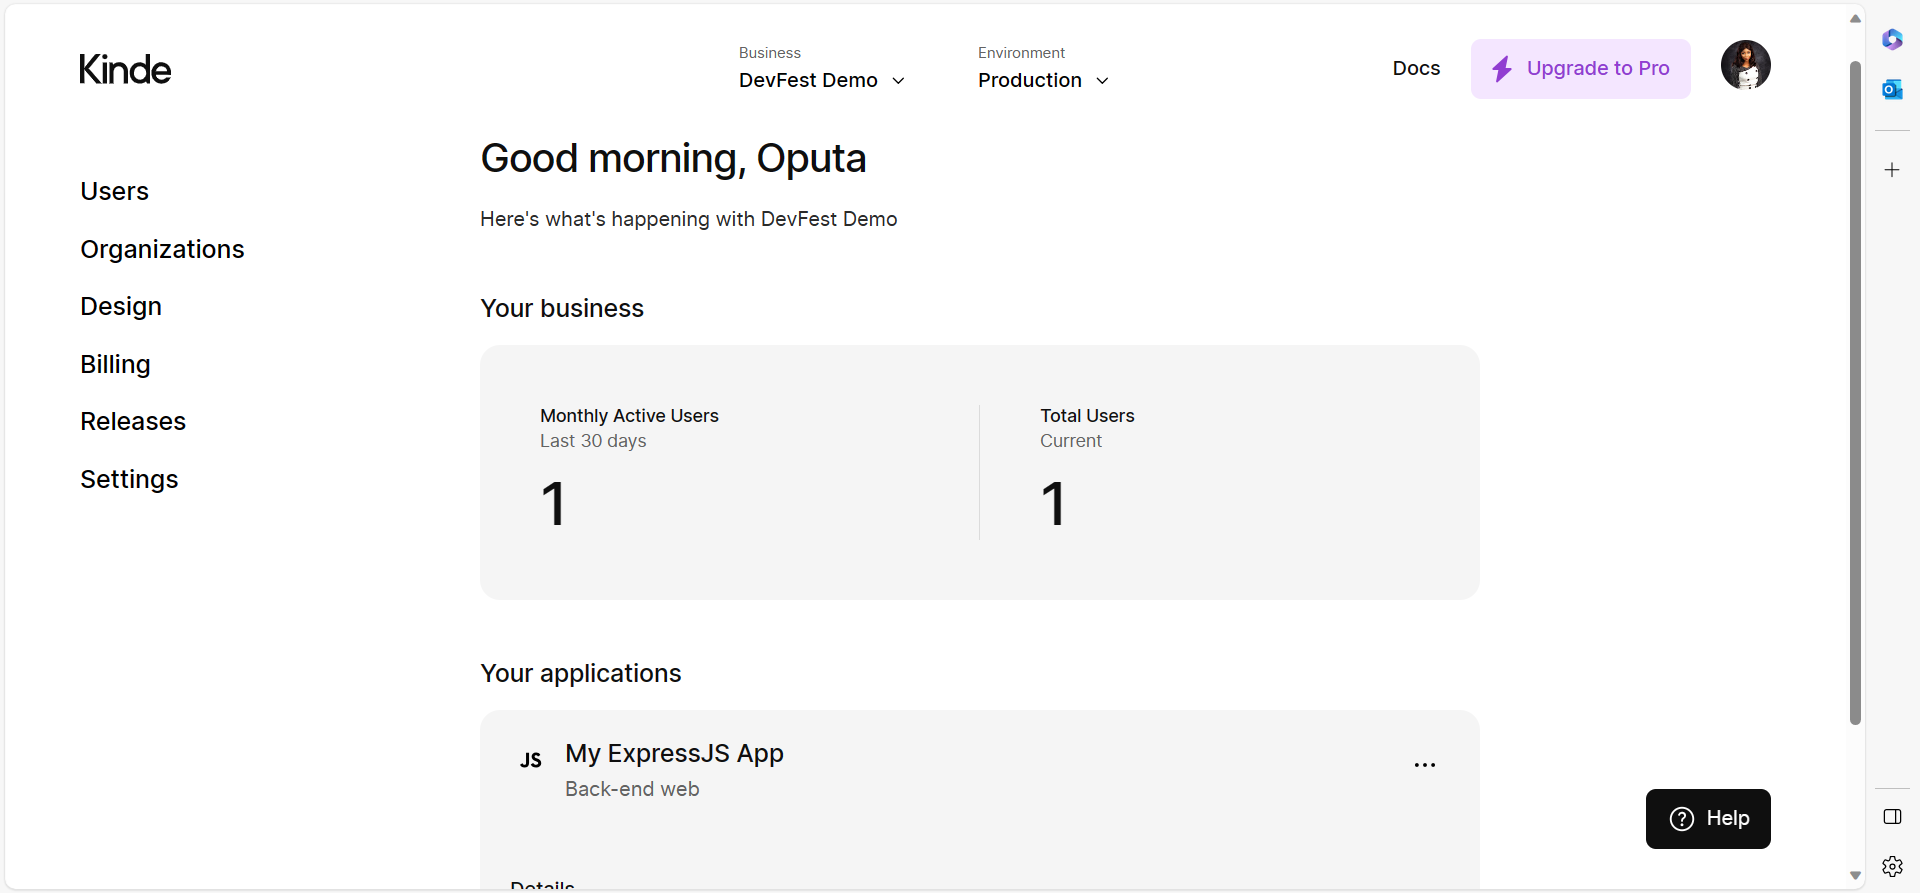
Navigate to the Home page and click on the "Settings" tab.
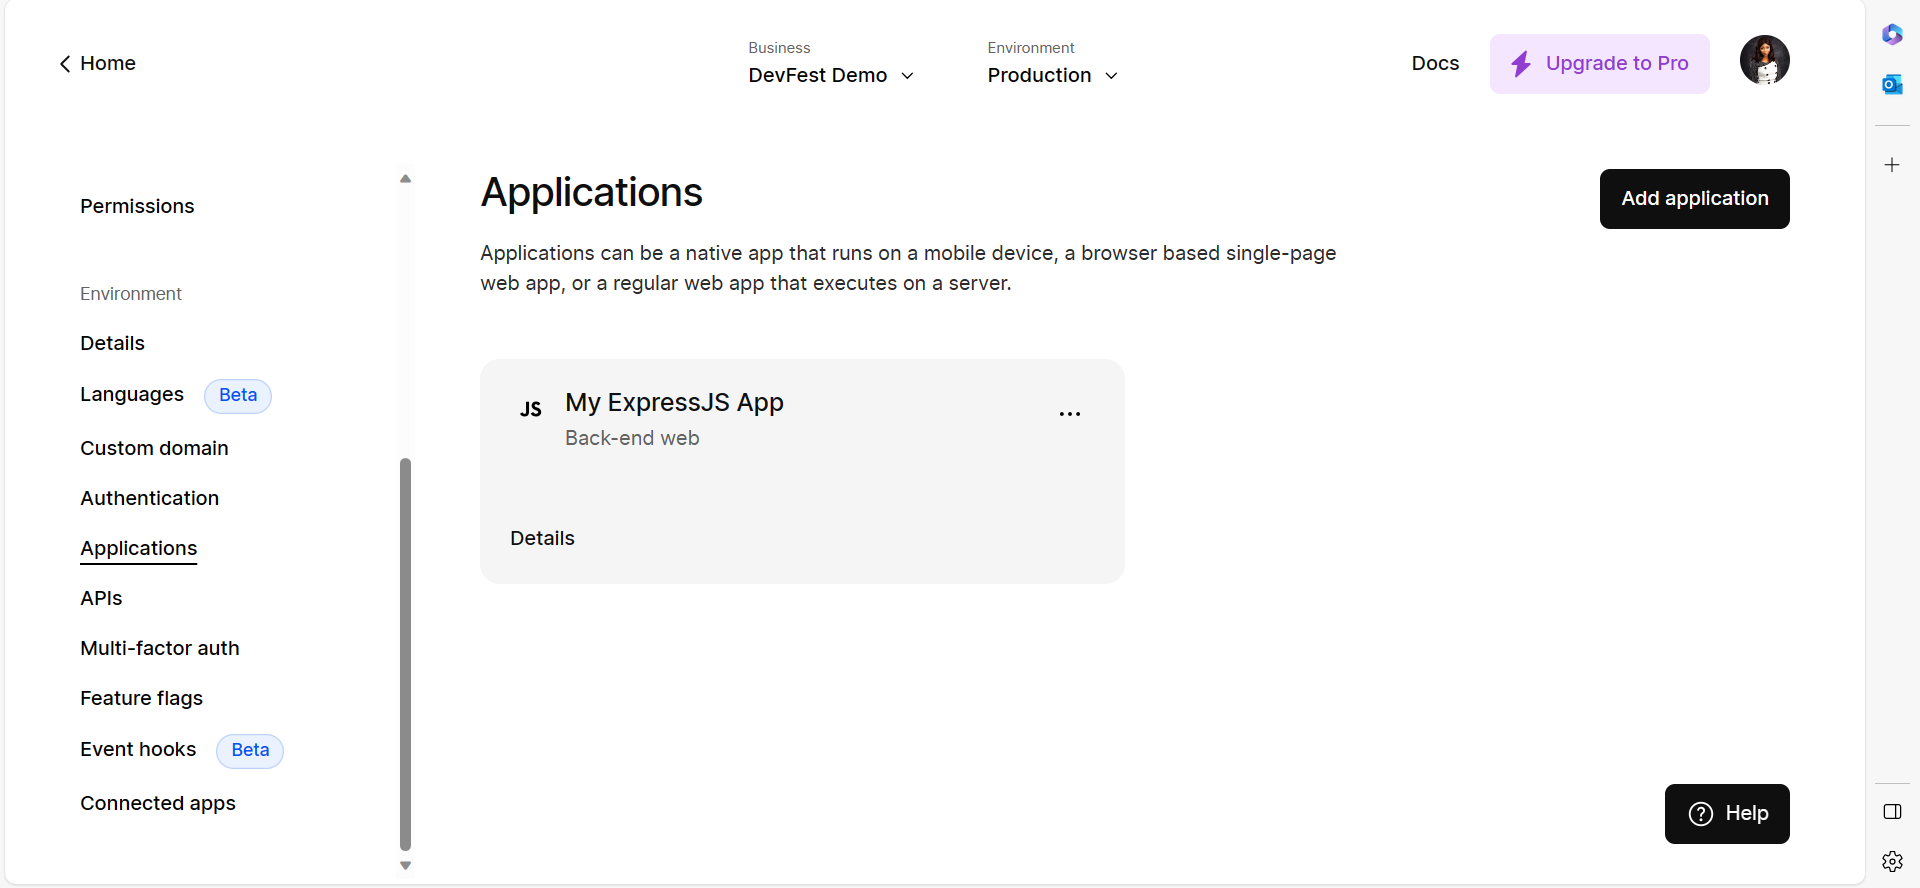
Select the "Application" tab, and then click on "Add Application" to initiate the process of creating a new application within Kinde.
Provide the necessary application details, such as the application name and type. For a backend web application, select the appropriate type, considering we are using Express.js.
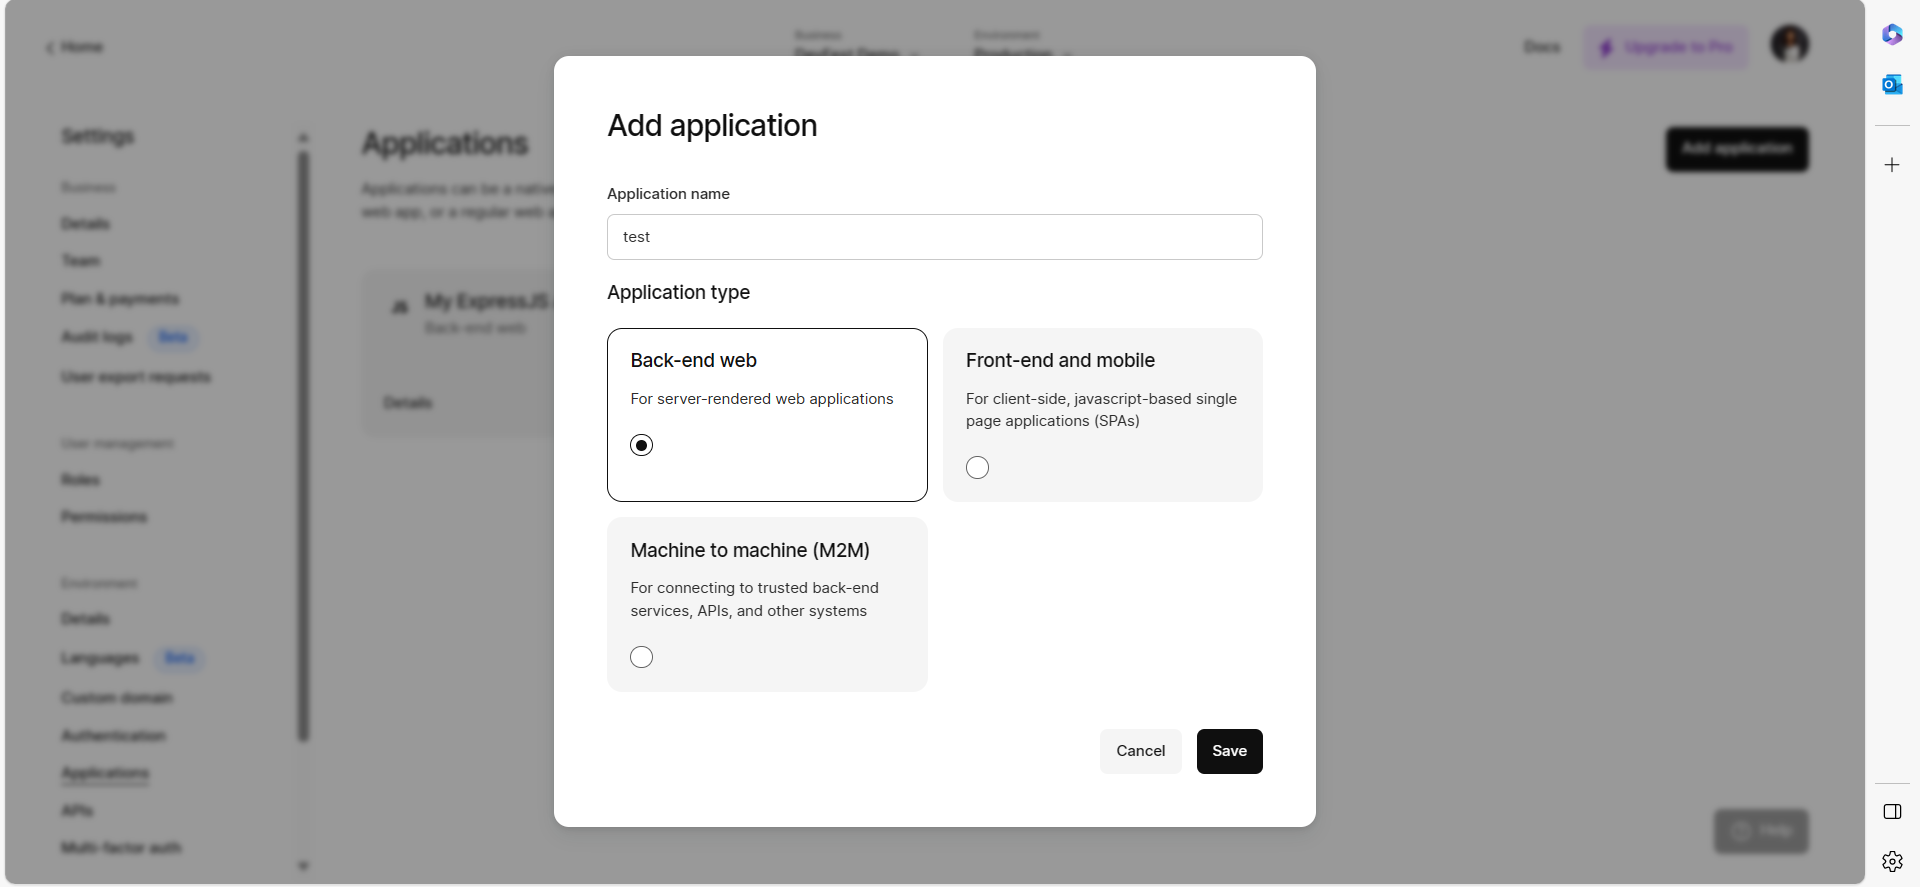
Click "Save" and your application is now ready for use. Next, you need to select your stack and include the necessary application details in the "Details" tab.
You have the option to integrate your Kinde application into an existing codebase or utilize a starter kit provided by Kinde. In this article, we will be leveraging a starter kit for the integration process.
Now your first application is set we can go into Integrating it into your code
Integrating Your Kinde Application
To integrate your Kinde application using a starter kit, follow these steps:
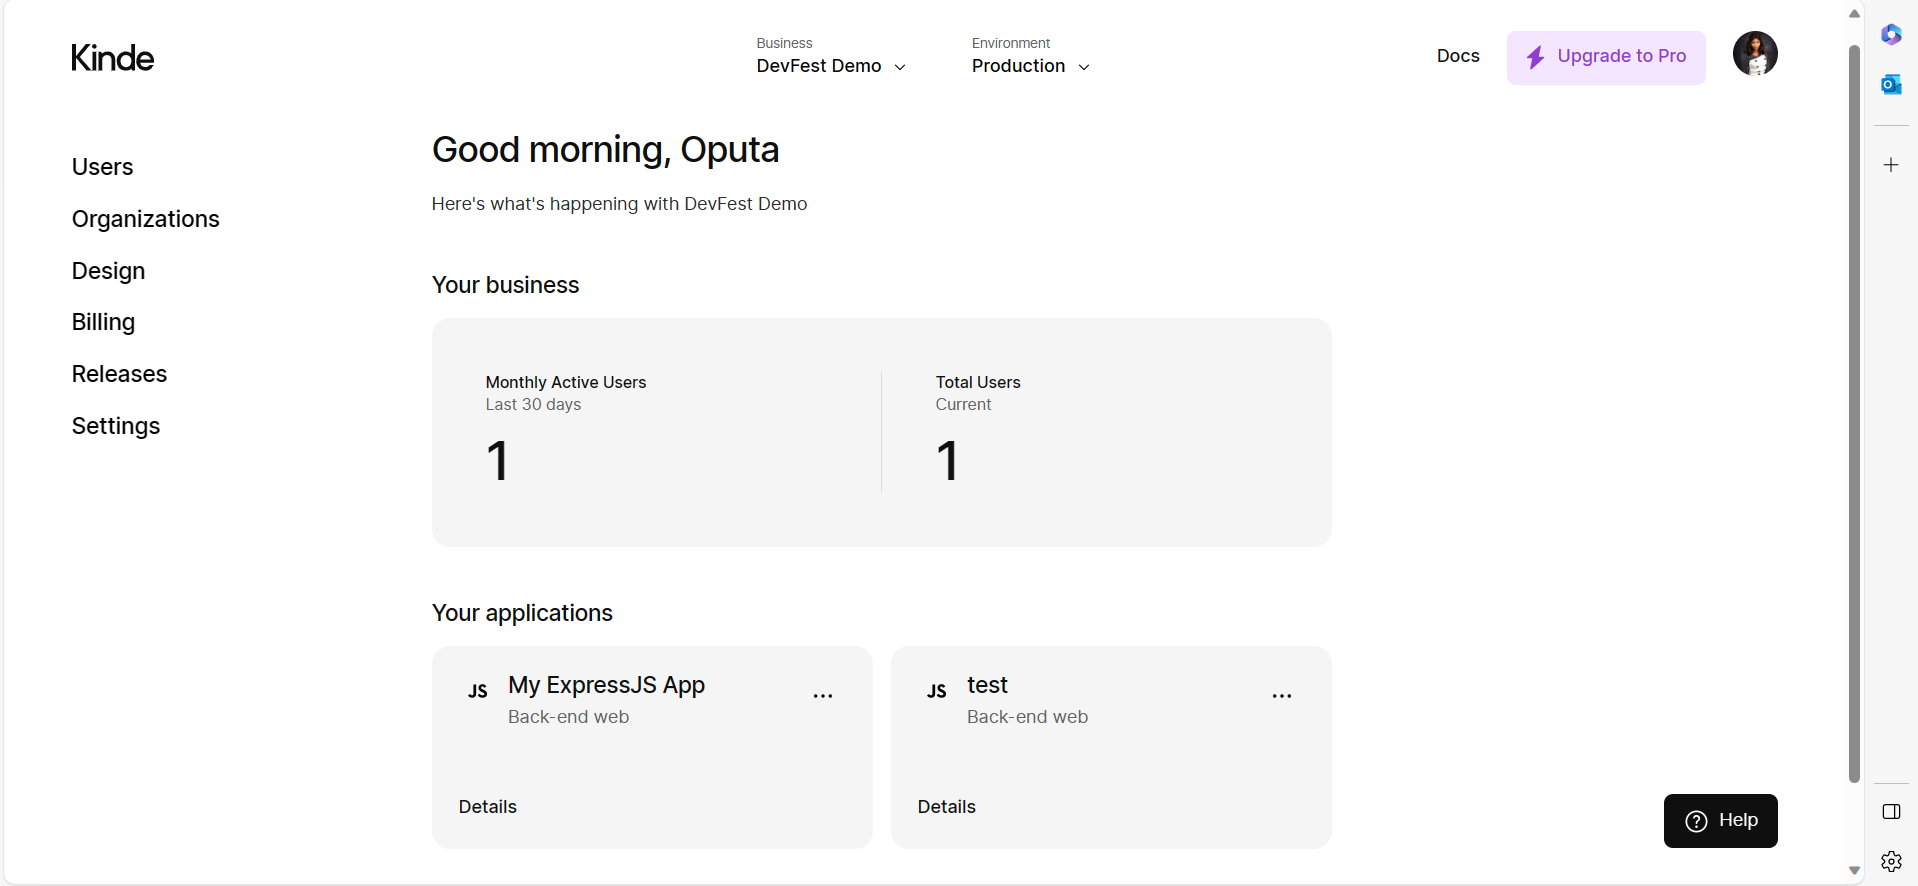
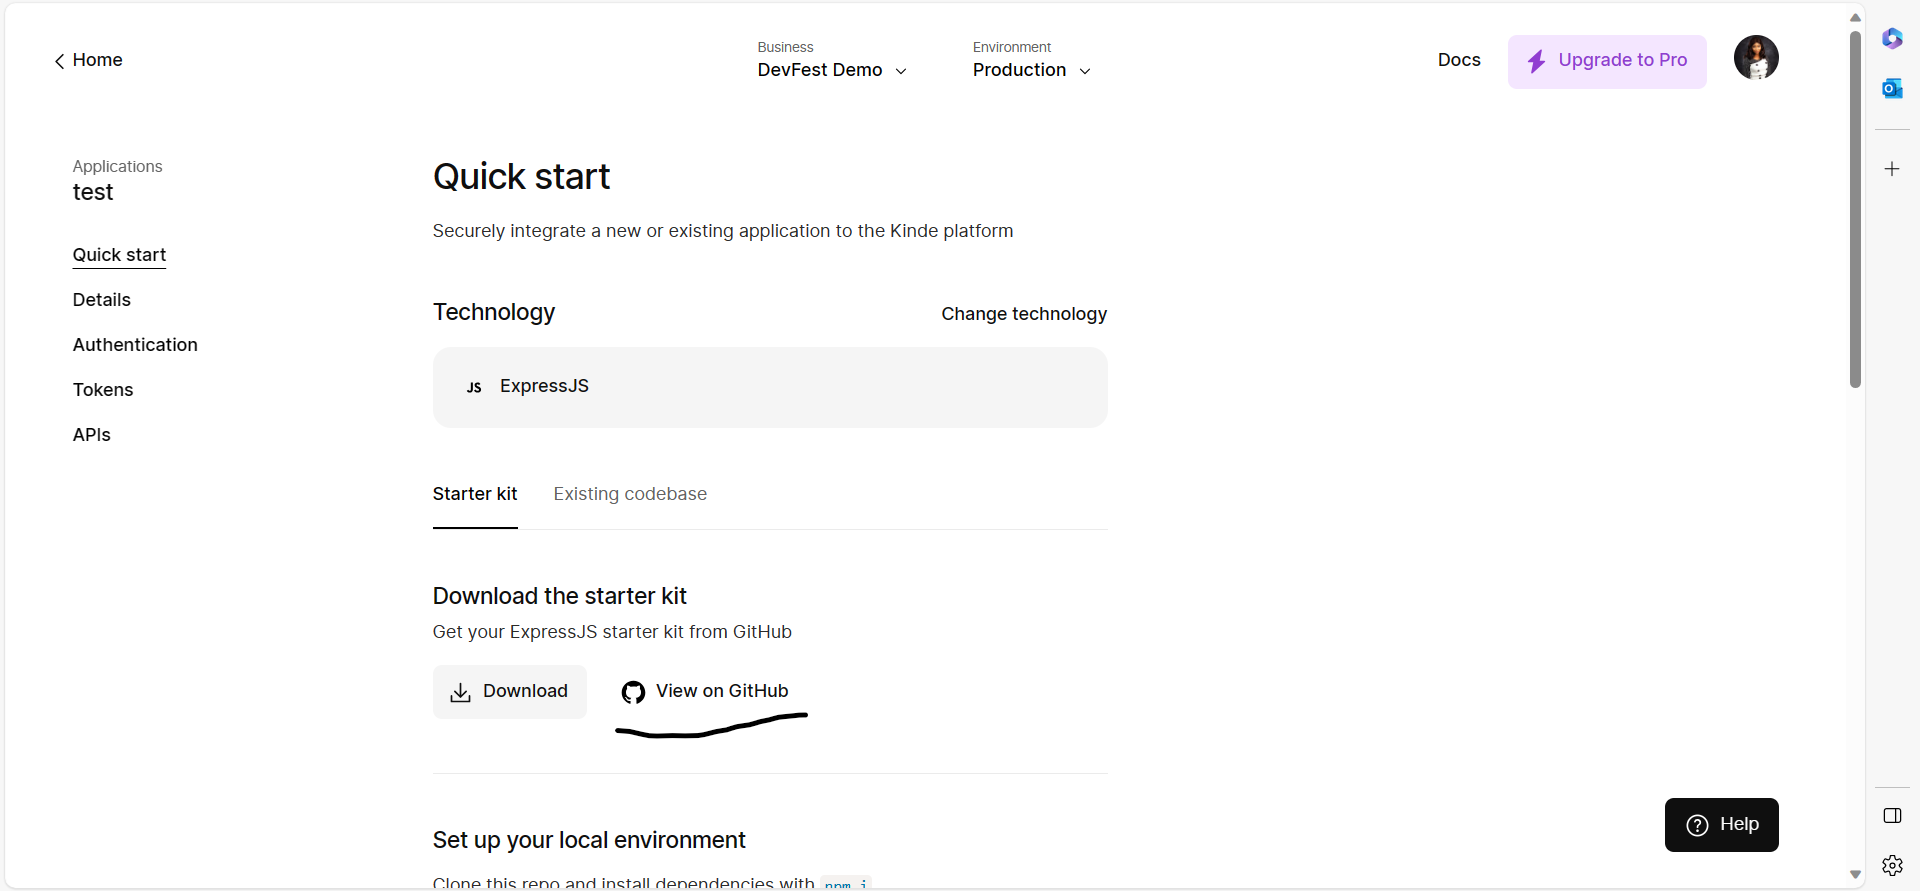
Navigate to the "Home page" and choose your application.
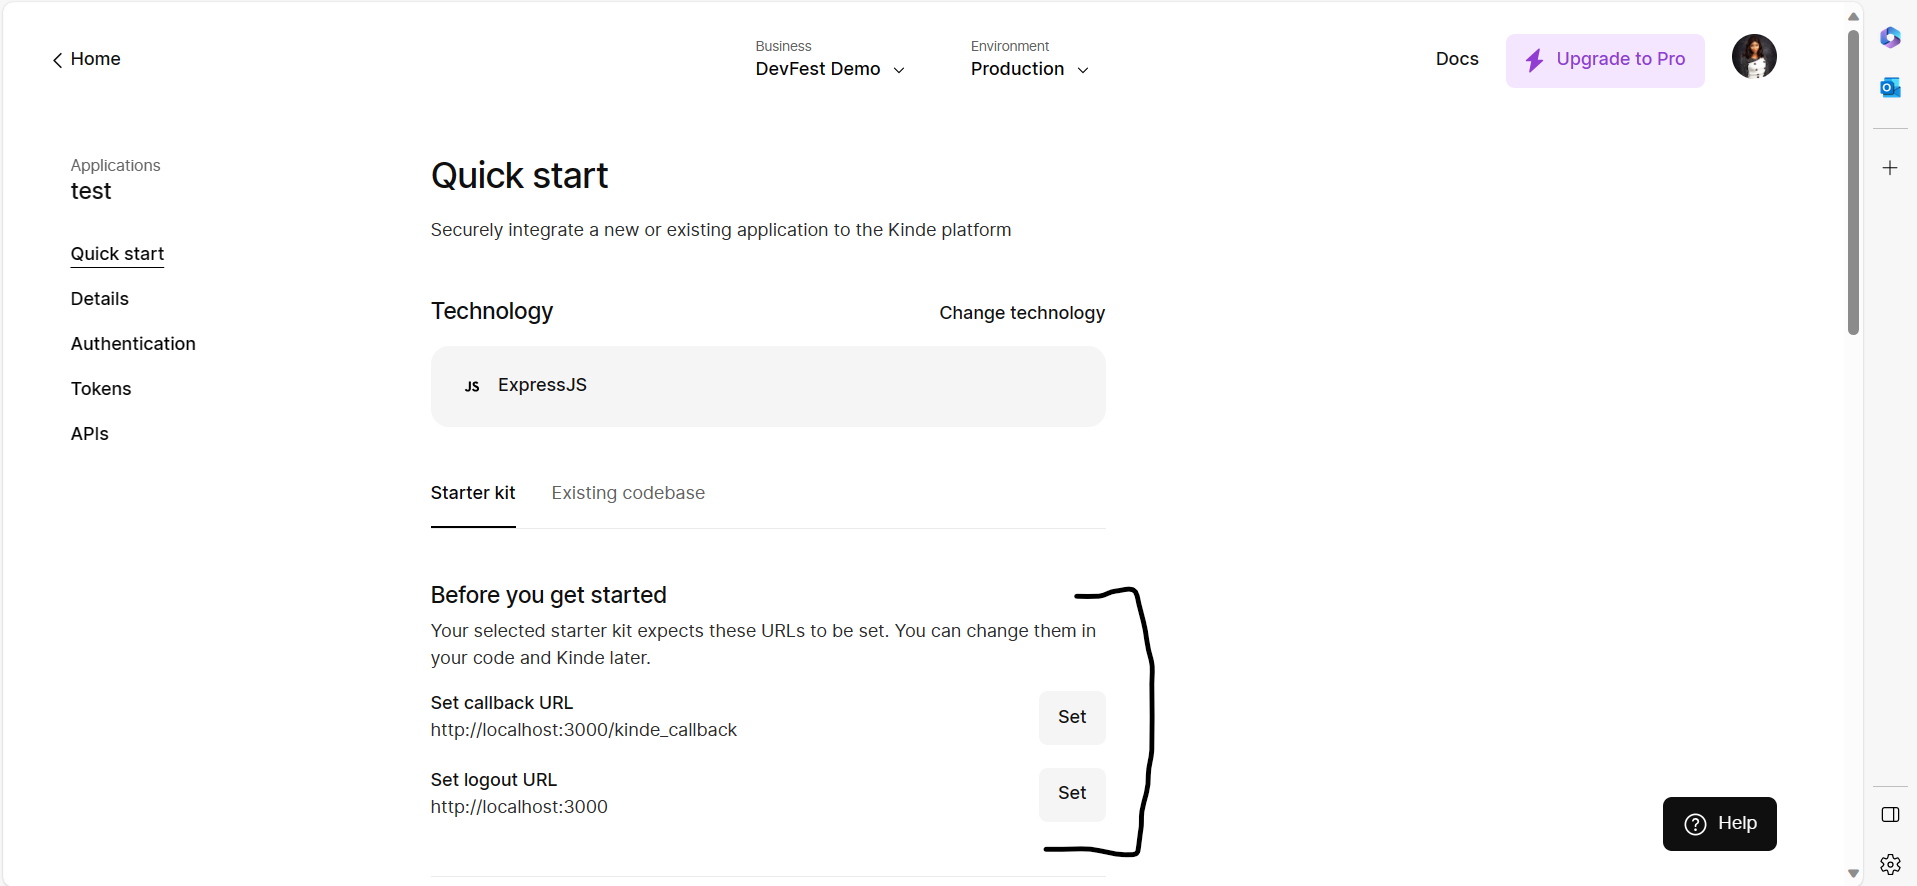
Select "Quick Start." This section provides various integration options for your created application, tailored to your preferred technology or stack.
Select "Starter Kit." Here, you have the option to either download a zip file or clone the repository from GitHub. For this instance, we'll proceed with cloning the repository.
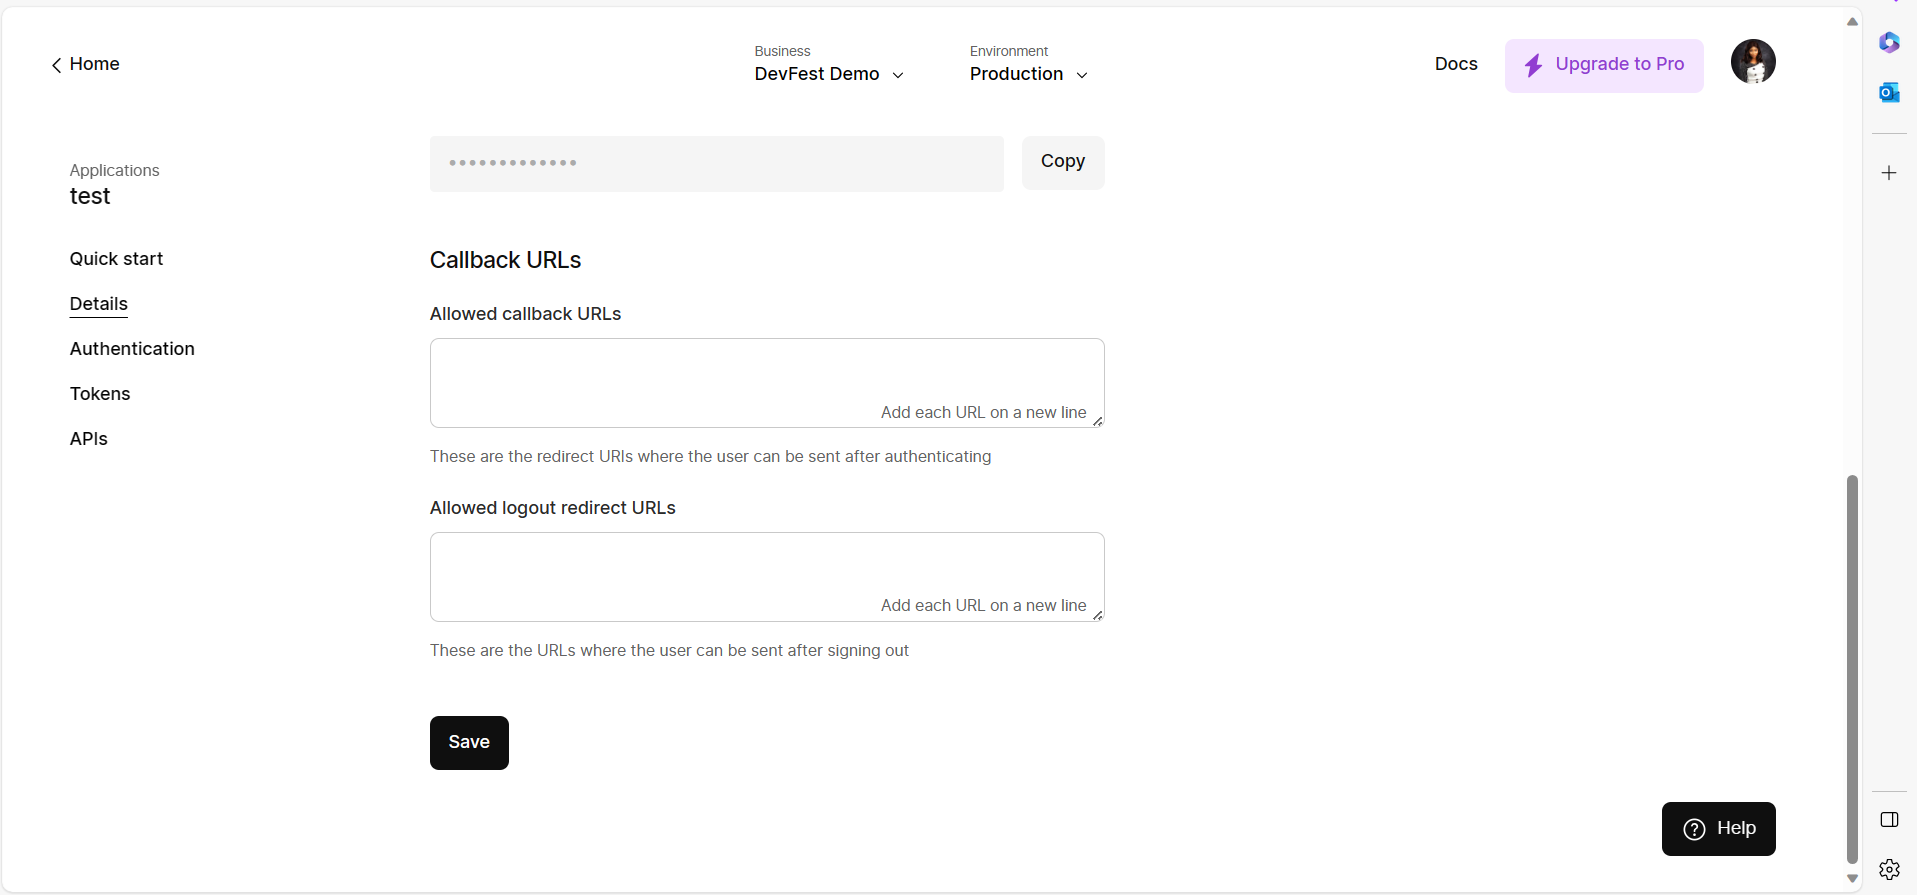
Before you can get started you need to set two major URLs (Callback URL and Logout URL), you can do this from "Quick Start" by clicking Set or you can change them in the "Details" tab and save.
OR
Select "View on Github," then proceed to clone the repository to a directory on your local machine.
After cloning, open the cloned repository in a code editor of your choice; for this example, I'll be using VSCode.
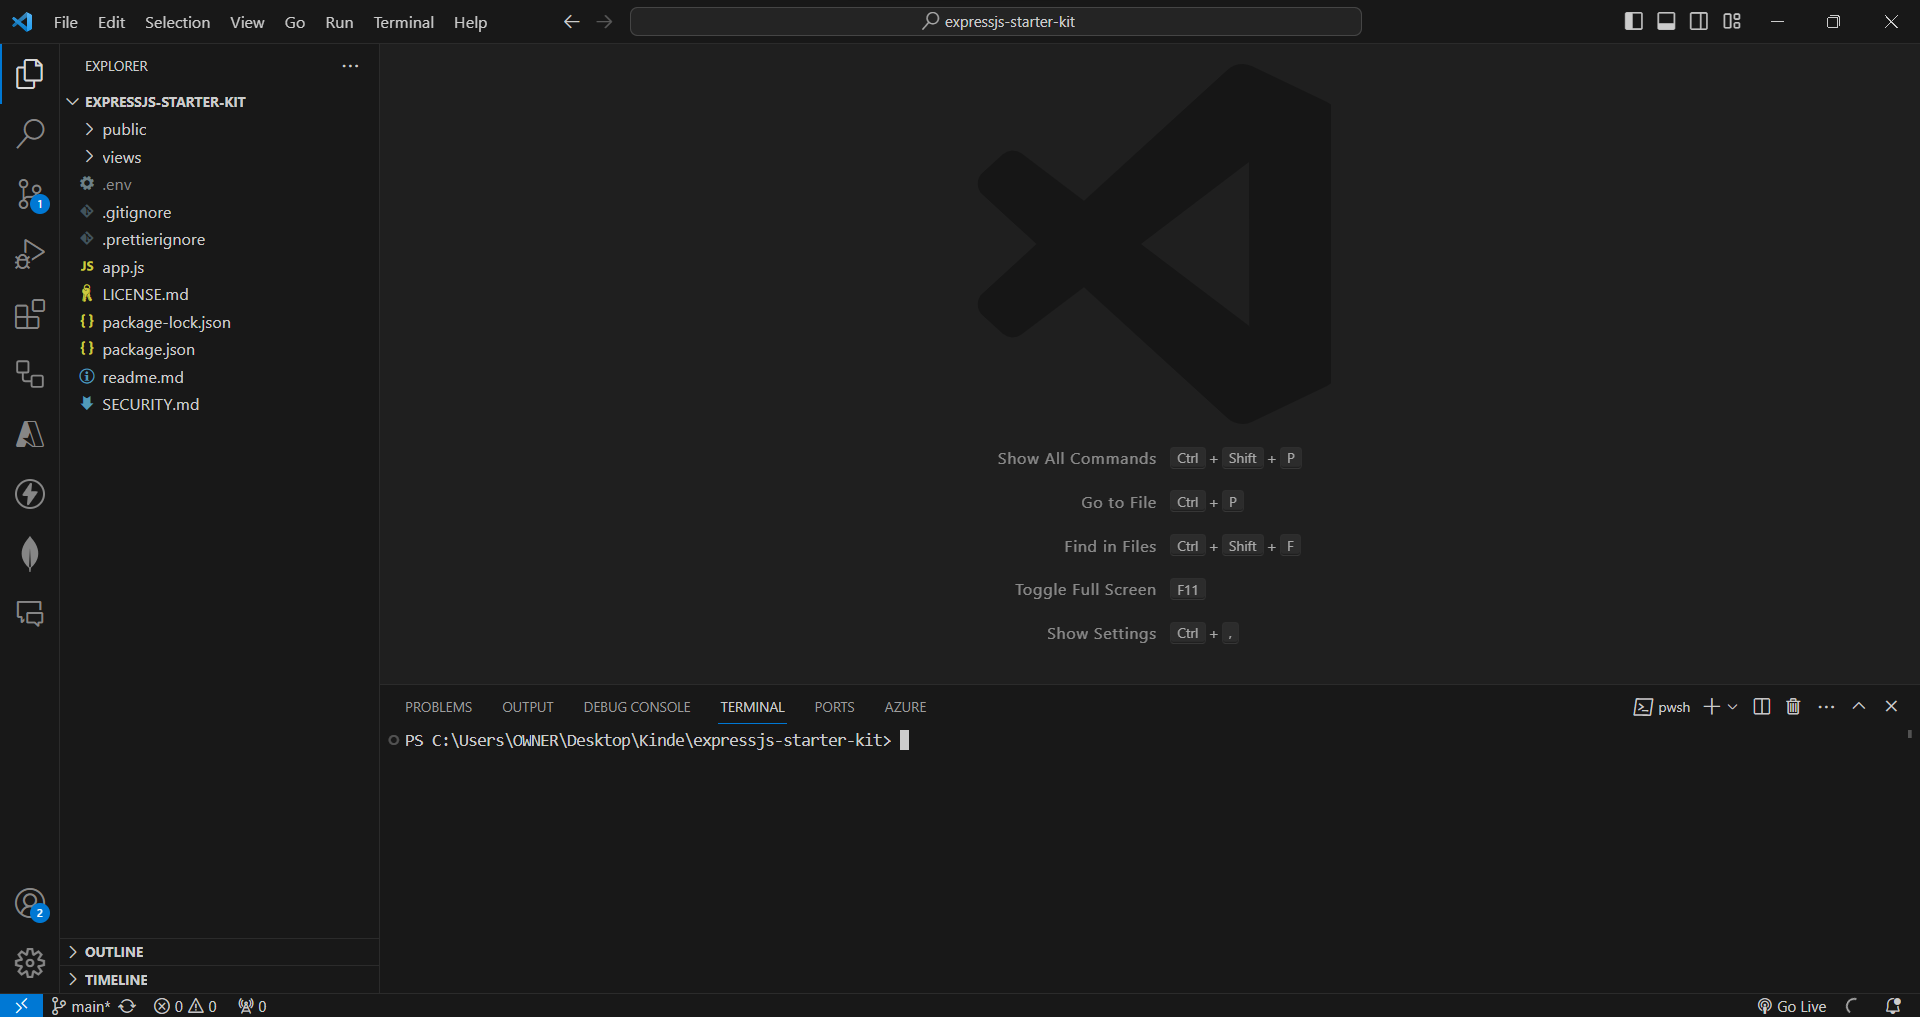
Set up your local environment:
Install all required dependencies by entering the following command in the terminal:
npm installThis command ensures the installation of dependencies specified in the package.json file.
Make a copy of
.env_sampleand name it simply.env. Update the necessary environment variables in your.envfile.KINDE_SITE_URL= <ALLOWED_LOGOUT_REDIRECT_URL> KINDE_ISSUER_URL= https://<YOUR_SUBDOMAIN>.kinde.com KINDE_POST_LOGOUT_REDIRECT_URL= <ALLOWED_LOGOUT_REDIRECT_URL> KINDE_CLIENT_ID= <YOUR_CLIENT_ID> KINDE_CLIENT_SECRET= <YOUR_CLIENT_SECRET>
Next, run your server. To run your server locally, use the following terminal command:
npm startCopy and paste your site URL into your web browser.
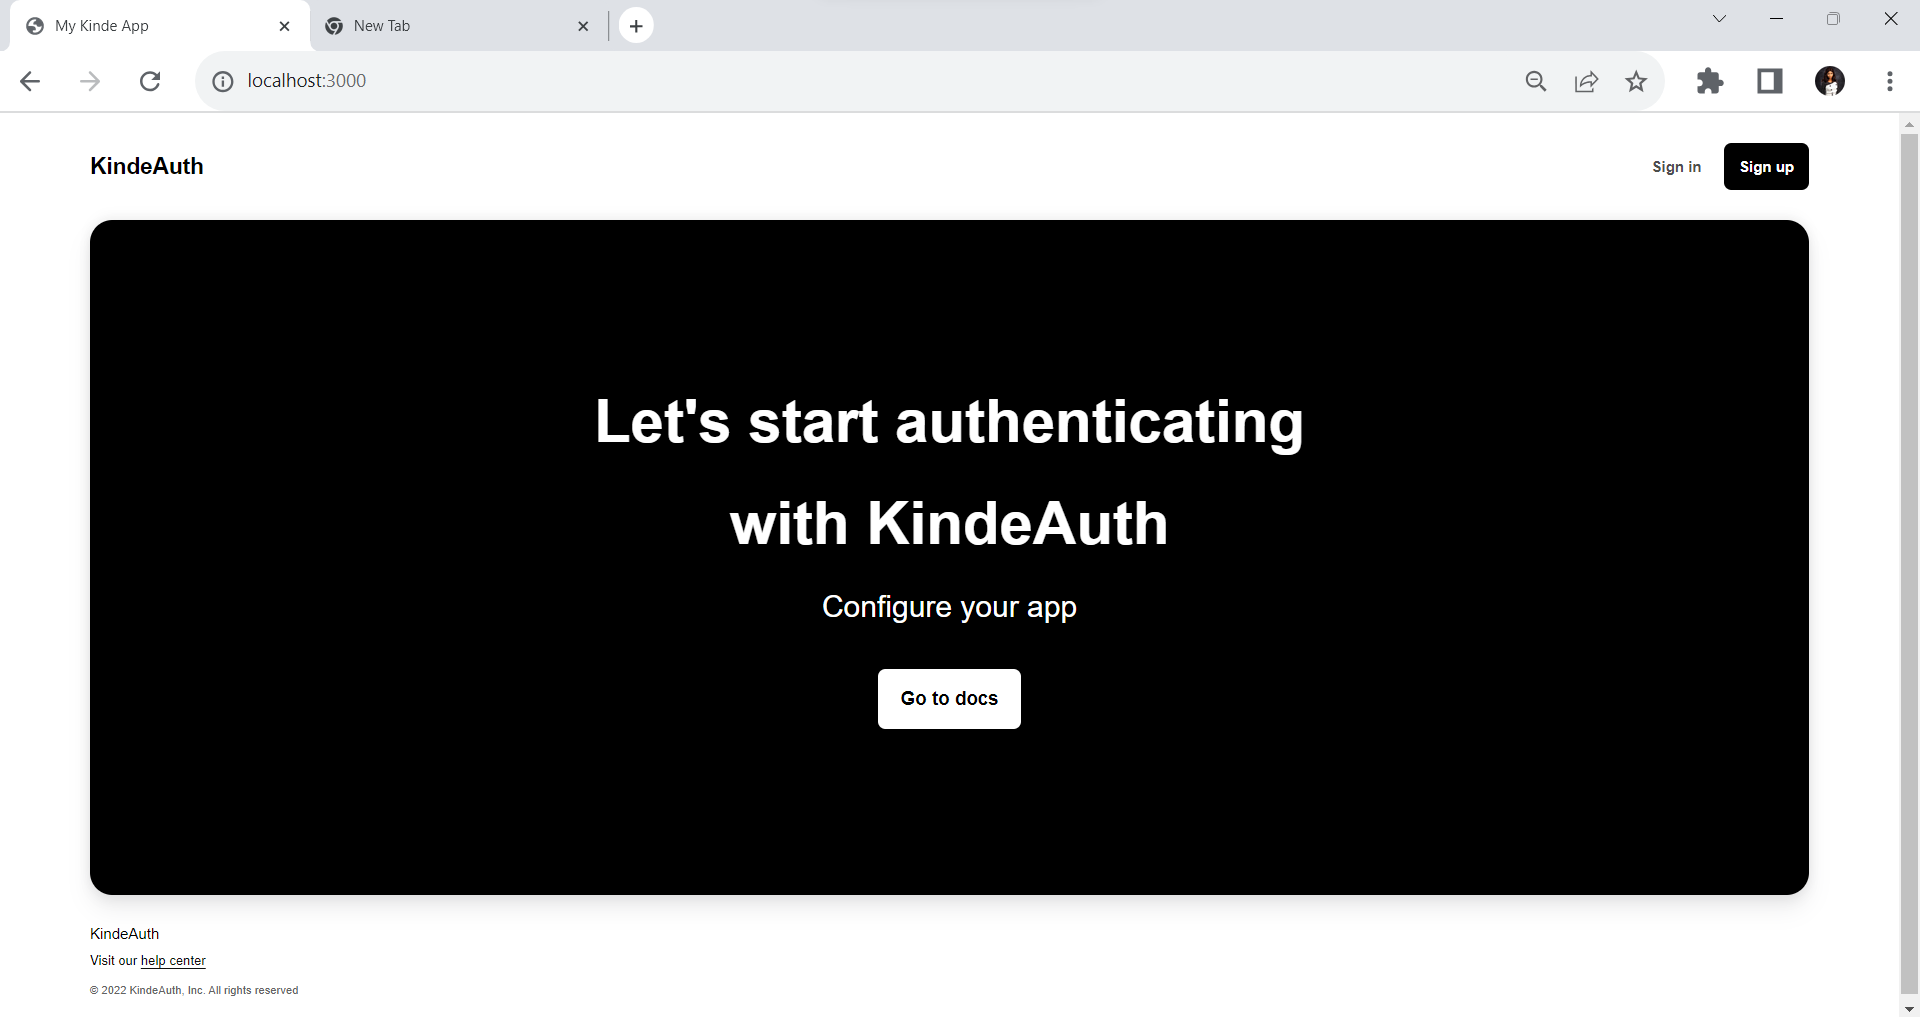
Congratulations! You've successfully created your authentication page. Feel free to customize the template provided by Kinde to suit your organization. You have the flexibility to modify the UI, images, and other elements. It's worth noting that Kinde utilizes the Pug template engine, enabling you to write templates that are compiled into functions, taking in data and rendering HTML documents.


