Node.Js with Livia || Caching In Node.Js: Optimizing Performance (Part II)
Redis: A beginner's guide to Caching

Learning new concepts can be quite fun, but sharing those concepts learned is more exciting.
In my previous article, I was able to explain the concept of caching and in this article, we would be looking at one of the caching libraries in node.js.
In the next and final article of this session in this series on caching in node.js, we will dive into implementing caching with Redis, a popular in-memory data store. We will also write some code examples to demonstrate how to cache some data using Redis.
Introduction
Redis stands for REmote DIctionary Server.
Redis is an open-source, in-memory data structure store that is used as a database, cache, and message broker. It is designed to be extremely fast and efficient by keeping all the data in memory instead of on disk, which makes it ideal for use cases where speed and low latency are critical.
In simple terms, When you store data in Redis, it is stored in memory and can be accessed and processed quickly. Storing data in memory also means that Redis can support high-throughput and low-latency workloads (explained in my previous article). When a client requests data from Redis, it can be retrieved quickly because the data is already in memory, and does not need to be loaded from a slower disk. In contrast, traditional disk-based databases like MySQL or PostgreSQL must read data from disk, which can take much longer and can be a bottleneck in high-traffic systems.
Features of Redis
In-Memory Data Storage: Redis is an in-memory data store, which means that all data is stored in RAM instead of on disk. This makes Redis extremely fast, with low-latency data access and fast data processing.
Support for Multiple Data Types: Redis supports a wide range of data types, including strings, hashes, lists, sets, and sorted sets. This makes it suitable for a wide range of applications, from simple key-value stores to more complex data structures.
Caching: Redis is often used as a cache for web applications, where it can store frequently accessed data such as user sessions, website content, and API responses. Its in-memory data storage and support for fast, low-latency operations make it an ideal caching solution.
Replication: Redis supports replication, which allows multiple Redis servers to share the same data. Replication can be used to improve the availability and scalability of Redis by creating multiple copies of the data, which can be used to handle more traffic and provide fault tolerance.
Security: Redis provides several security features, including password authentication, SSL/TLS encryption, and IP-based access control. These features help to protect sensitive data and prevent unauthorized access to Redis servers.
Getting Started with Redis
Installing Redis
The best way to get started with a tool is by setting it up. Redis can be installed on Linux, Windows, and macOS using the following steps:
Installation on Linux
To install Redis on Linux you need to update your local package index with the latest package information:
curl -fsSL https://packages.redis.io/gpg | sudo gpg --dearmor -o /usr/share/keyrings/redis-archive-keyring.gpg
echo "deb [signed-by=/usr/share/keyrings/redis-archive-keyring.gpg] https://packages.redis.io/deb $(lsb_release -cs) main" | sudo tee /etc/apt/sources.list.d/redis.list
Use the command below to download package information from all configured sources:
sudo apt-get update
Finally, install Redis with this command:
sudo apt-get install redis
You can install recent stable versions of Redis from the official packages.redis.io APT repository.
Installation on Windows
Redis is not officially supported on Windows but, it can be installed for development purposes by enabling WSL2 (Windows Subsystem for Linux version 2).
WSL2 is a feature that allows you to run Linux applications and utilities on Windows without the need for a virtual machine or a dual-boot setup, for this to work hypervisors come into play.
You can follow this guide for the installation of WSL2
OR
You can run the block of code on your terminal:
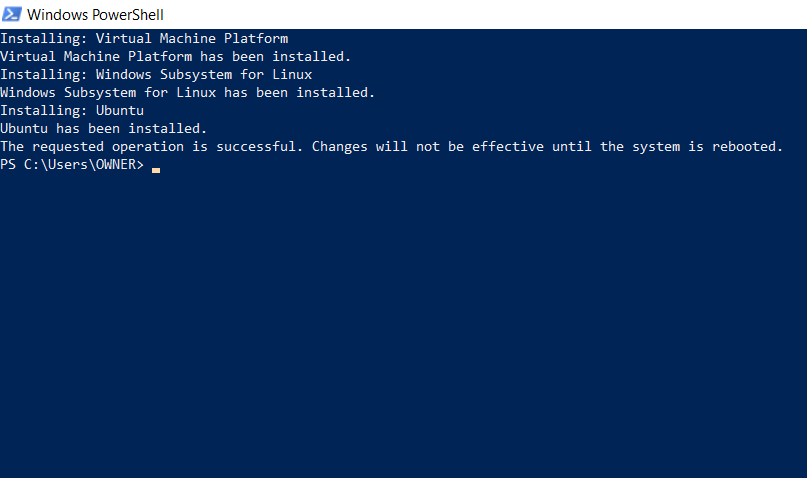
wsl --install -d <Distribution Name>
<Distribution Name> with ubuntu. Check out this page for more on Linux distributions.Installation process:
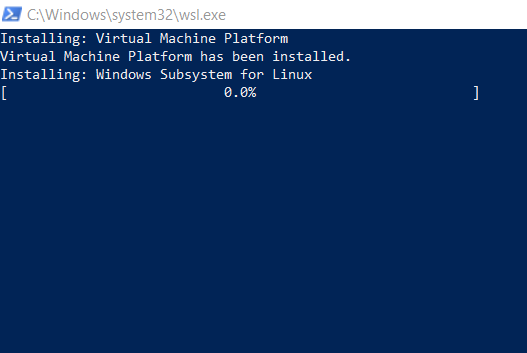

If you have WSL2 and Ubuntu installed you should have something like this on your command line:
Since you are now running on a Linux OS you can follow the steps for installing Redis on Linux.
Installation on MacOS
Redis can be installed on macOS using HomeBrew or from the source file.
In this guide, Redis will be installed on macOS using Homebrew. Homebrew is the easiest way to install Redis on macOS. If you'd prefer to build Redis from the source files on macOS, see Installing Redis from Source.
From the terminal, run:
brew install redis
This will install Redis on your system.
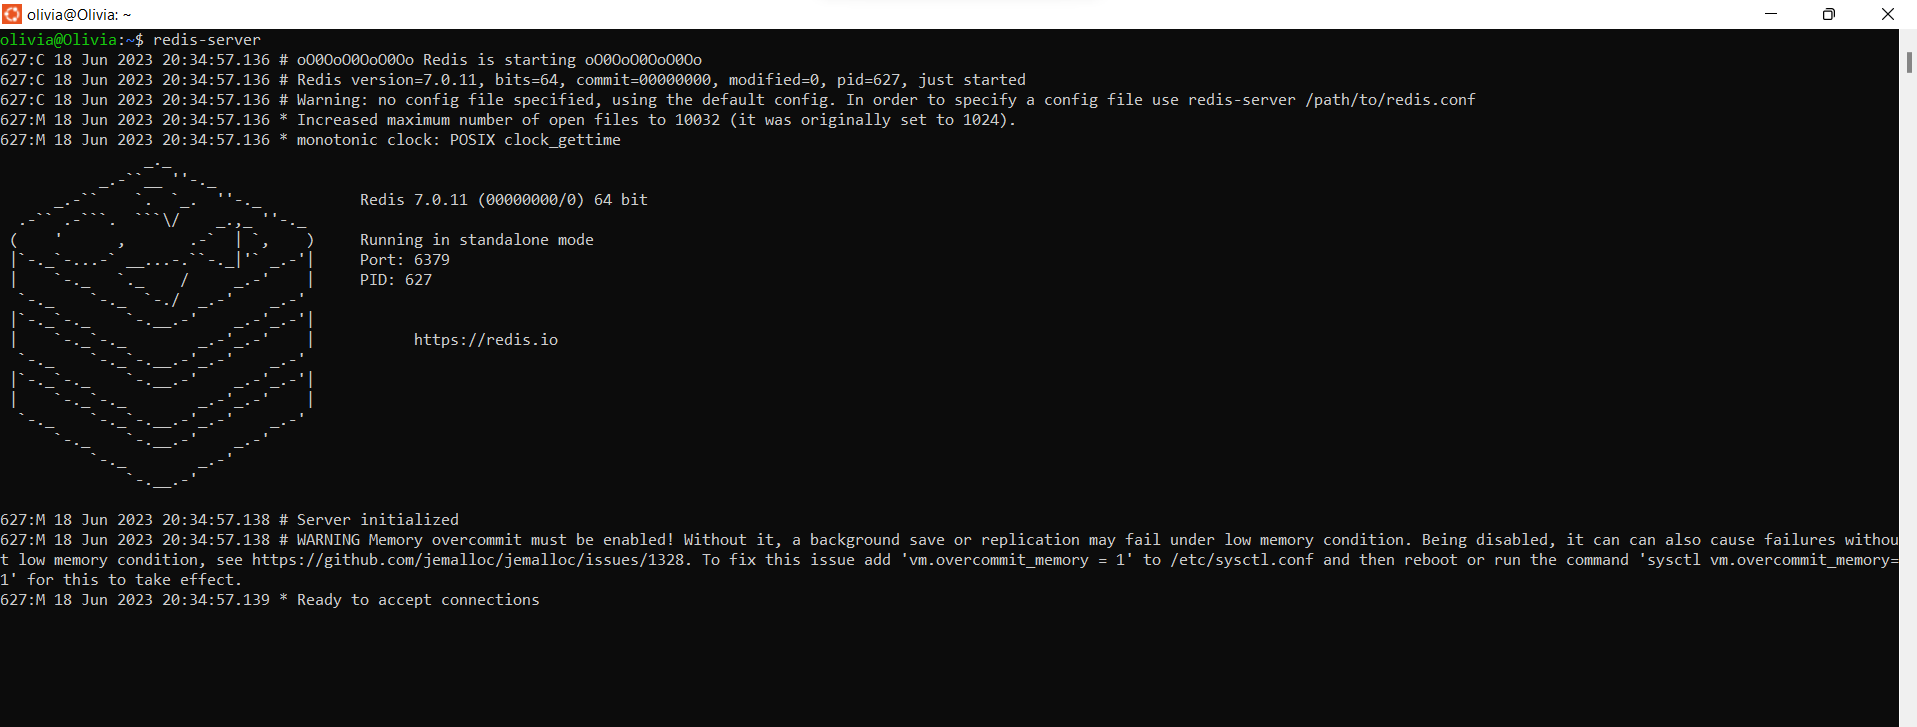
Once, you have Redis installed on your operating system (Linux, macOS or Windows), you can start it by running the following command:
redis-server
Redis Interfaces
There are two major Redis user interfaces which are Redis CLI (Command Line Interface) & RedisInsight.
The Redis command line interface (redis-cli) is a terminal program that allows you to send commands to and read replies from the Redis server. It has two main modes: an interactive mode called Read Eval Print Loop (REPL) mode where you type Redis commands and receive replies, and a command mode where redis-cli is executed with additional arguments and the reply is printed to the standard output.
To interact with the Redis server using the CLI, you can start the Redis CLI using the following command:
redis-cli
RedisInsight is a graphical user interface that combines redis-cli with other features, such as data visualization, diagnostic tools, learning resources, and more. RedisInsight is free and works with any Redis deployment.
Basic Redis Commands
Let’s play a bit with the Command Line 😌
Redis commands are used to perform some operations on the Redis server. There are several Redis commands but in the course of this article we would be looking at the basic commands:
SET: This command sets the value of a key.redis-cli SET <key-name> “<value>”SET name “Fred”GET: This command retrieves the value of a key.redis-cli GET <key-name>GET nameEXISTS: This command checks if a key exists.redis-cli EXISTS <key-name>EXISTS nameEXPIRE: This command sets the expiration of a key in the cache in seconds.redis-cli EXPIRE <key-name> <time in seconds>EXPIRE name 60DEL: this command deletes one or more keys.redis-cli DEL <key-name>DEL nameBelow is a sample of some commands and results:
  olivia@Olivia:~$ redis-cli
  127.0.0.1:6379> SET name "Olivia"
  OK
  127.0.0.1:6379> SET token "fG78HNmko"
  OK
  127.0.0.1:6379> GET name
  "Olivia"
  127.0.0.1:6379> GET token
  "fG78HNmko"
  127.0.0.1:6379> EXISTS name
  (integer) 1
  127.0.0.1:6379> EXISTS token
  (integer) 1
  127.0.0.1:6379> EXISTS fname
  (integer) 0
  127.0.0.1:6379> EXPIRE token 30
  (integer) 1
  127.0.0.1:6379> Get token
  "fG78HNmko"
  127.0.0.1:6379> DEl name
  (integer) 1
  127.0.0.1:6379> Get name
  (nil)
  127.0.0.1:6379> Get token
  (nil)
Note:
When a key doesn't exist it returns 0, if it exists it returns 1.
If you try to get a key that doesn't exist the output is nil.
The token key expired within 30 seconds and when the key expires it no longer exists in the cache, so it returns nil.
Redis Data Type
One of the features of Redis is its support for multiple data types such as strings, hashes, lists, sets and so on. Redis is a key-value store, which means that it stores data in the form of key-value pairs. The key is used to access the value, and the value can be of any type, such as a string, a list, a set, a hash. These data types are supported natively by Redis and provide a rich set of commands for manipulating and querying the data.
Strings: The simplest and most basic data type in Redis. It stores sequences of bytes, including text, serialized objects, and binary arrays.
Lists: Redis lists are collections of strings, ordered by insertion. They support operations such as push, pop, and blocking operations, making them suitable for implementing queues or stacks.
Hashes: Redis hashes are field-value pairs and are useful for representing objects or dictionaries. As such, Redis hashes resemble Python dictionaries, Java HashMaps, and Ruby hashes.
Set: Sets are unordered collections of unique elements. They provide operations for adding, removing, and checking membership, making them useful for tasks like maintaining unique user lists or implementing tags.
There are other data types such as Bitmaps, sorted sets, streams, bitfields, HyperLogLog and so on.
In this article, I have explained the basics of Redis, a fast and powerful in-memory data store. I have shown how to install Redis on different OS, and how to perform common operations or commands with Redis. I have also discussed some of the features of Redis. I hope this article has given you a good introduction to Redis and inspired you to explore its features further. In my next article, we would be getting our hands dirty, by retrieving data and storing them in a cache using Redis.
Thank you for reading 🥰


